

Keeping your glamping tent clean is not just about appearances. Regular cleaning protects your investment, extends the tent’s life, and ensures every guest enjoys a fresh, comfortable stay. At Kawagebo Kamp Glamping, we know that a well maintained tent is the key to a successful glamping business.
In this guide, we will walk you through the entire cleaning process —— from preparation to drying and post cleaning care. Follow these simple steps, and your canvas tent will stay in great shape for many seasons.
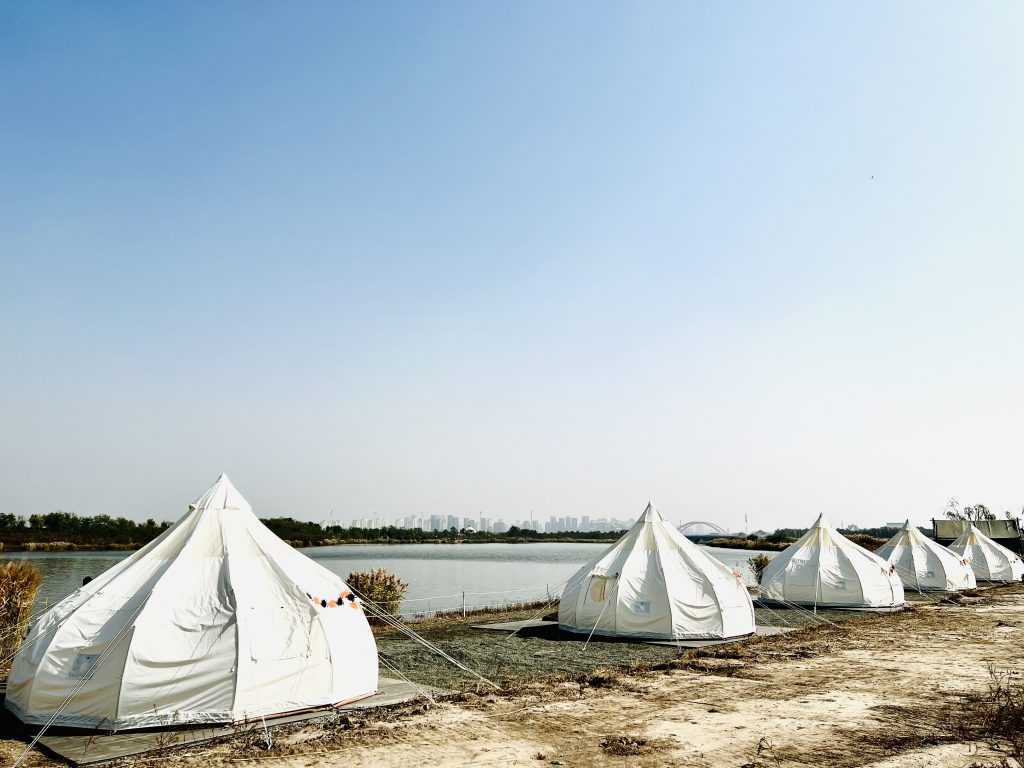
Why Regular Cleaning Matters
Cleaning your tent regularly offers three important benefits
- Extends the Tent’s Life – Dirt, dust, and stains can slowly break down tent fabrics. Over time, they cause wear, thinning, and even tearing. Regular cleaning removes these harmful particles and keeps the material strong.
- Maintains Performance – A dirty tent may lose its waterproof coating, UV protection, and breath ability. This can lead to leaks, fading, and fabric damage. Clean tents work better and last longer.
- Protects Health and Safety – Moisture and dirt create the perfect environment for mold, mildew, and bacteria. These can cause unpleasant odors and even allergic reactions. Regular cleaning keeps the tent fresh and safe for guests.
What You Will Need
Before you start, gather these simple tools
- A garden hose with a spray nozzle
- A softbristled brush or broom
- A sponge or soft cloth
- A large bucket
- Mild detergent (neutral or soapbased, no bleach)
- Clean rags for drying
- Choose a sunny, breezy day for cleaning so the tent can dry quickly after washing.
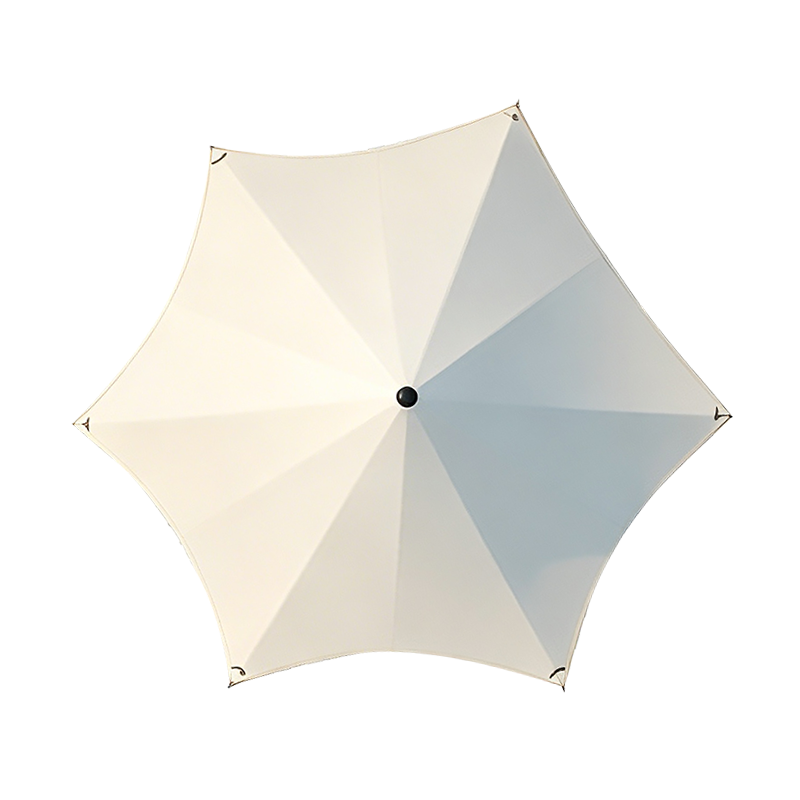
Step by Step Cleaning Process
Step 1 Unfold and Remove Loose Dirt
Start by fully unfolding the tent on a flat, clean surface. This allows you to reach every corner and seam.
Use a soft bristled brush or broom to gently sweep away dust, leaves, mud, and other loose debris. Pay special attention to seams and folds where dirt tends to collect. Be gentle — scrubbing too hard can damage the fabric.
For stubborn dirt stuck in seams, use a dry cloth or gently pat the area with your hand.
Step 2 PreRinse the Tent
Before applying any cleaner, hose down the entire tent surface with water. This removes surface dust and prevents scratching during scrubbing.
Make sure to wet all areas evenly, including the roof and side walls.
Step 3 Prepare the Cleaning Solution
Mix warm water with a mild detergent in a bucket. A good ratio is about four parts water to one part detergent.
Never use bleach, strong chemicals, or acidic cleaners. These can damage the tent’s waterproof coating and fade the color.
Step 4 Scrub Gently
Dip a sponge or soft cloth into the cleaning solution and start scrubbing the tent surface. Work in small sections, focusing on stained or dirty areas.
For tough stains, let the cleaner sit on the spot for a few minutes before scrubbing. Use gentle, circular motions—do not rub hard.Avoid using stiff brushes or abrasive pads, as they can scratch or weaken the fabric.
Step 5 Rinse Thoroughly
After scrubbing, rinse the entire tent with clean water from the hose. Make sure all soap residue is washed away. Leftover detergent can attract dirt and reduce the tent’s waterproofing.
Check all surfaces carefully to ensure no cleaner remains.
Step 6 Dry Completely
This is the most important step. Never pack away a damp tent—it will develop mold and mildew.
Unfold the tent in a sunny, well ventilated area. Allow it to dry completely on both sides. If sunlight is limited, use electric fans to speed up the drying process.
Pay special attention to seams, corners, and the floor. These areas take longer to dry and are most prone to moisture problems.
After Cleaning Care
Once your tent is clean and dry, there are a few more tasks to keep it in top condition.
ReWaterproofing
Over time, cleaning and weather exposure can reduce the tent’s waterproof ability. To restore it
Apply a seam sealer along all stitching lines. This prevents water from seeping through needle holes.
Use a waterproofing spray designed for canvas or PVC fabrics. Spray evenly over the entire outer surface.These steps will keep your tent dry and comfortable during rainy seasons.
Proper Storage
When the tent is not in use, store it correctly to avoid damage
Make sure the tent is 100% dry before folding.
Avoid folding it too tightly — loose rolling is better to prevent creases.
Add a desiccant pack or natural insect repellent to keep pests away.Store in a cool, dry, and dark place. Avoid direct contact with concrete floors—use a shelf or moisture proof mat.
A Smarter Choice – Low Maintenance Tents
While regular cleaning is necessary, choosing a well designed tent can reduce maintenance work. At KK Glamping, our safari tents feature a double layer design with a durable PVC outer layer and a breathable canvas inner layer. This structure resists moisture, dirt, and stains much better than single layer tents. It also allows for better ventilation, which helps prevent mold and odors.
With the right tent and proper care, you can spend less time cleaning and more time enjoying your glamping site.

Contact Us For More Information
Cleaning a canvas glamping tent is straightforward if you follow the right steps. Unfold, sweep, rinse, scrub, rinse again, and dry completely. Then, rewaterproof and store properly. These simple habits will protect your tent, extend its life, and keep your guests happy.
At Kawagebo Kamp Glamping (KK Glamping), we are committed to helping you succeed in the glamping industry. Our tents are built for durability and ease of maintenance. If you have any questions about tent care or need advice on choosing the right tent for your site, feel free to contact us. We are here to help.